
Manufacture of Lantern Slides
A lantern slide, also known as a gelatin dry plate positive, was created using a process that allowed a photographic emulsion to be applied to glass. In 1879, The Eastman Dry Plate Company patented a machine to coat glass plates and began mass production. While the “wet plate” process required a portable darkroom for the plates to be prepared and sensitized just before exposing them, the new “dry plate” technique allowed plates to be presensitized and packaged in a factory, ready to use as needed. The plates could be more easily transported, and the prepared glass could be exposed at a later date.
To make a gelatin dry plate, a thin glass sheet had to be thoroughly cleaned and treated to provide good adhesion with the emulsion. The warm gelatin emulsion could then be poured in a thin, even layer onto the glass. The plates with the liquid emulsion were left to dry and harden in a cool, flat place.
Curtis produced 14 x 17” dry plate glass negatives in the field, which were later re-exposed to produce dry plate positives in the smaller 3 x 4” format of the lantern slides. A photographer exposed a plate in the camera, yielding an image with negative values (where light areas became dark and dark areas appeared light) when developed. In the darkroom, that image could then be reduced, and rendered positive, by projection onto a smaller glass plate—the lantern slide. The smaller plate would then be developed in a series of chemical baths.
Looking at the collection as a whole, there is a great variety of techniques and materials used by Curtis. We observe different shades of chemically toned images, different methods of application of color, and a range of window mats and framing devices. All of this suggests that the slides were assembled over a long span of time, with the involvement of various hands—developers, manufacturers, printers, and colorists.
Chemical toning
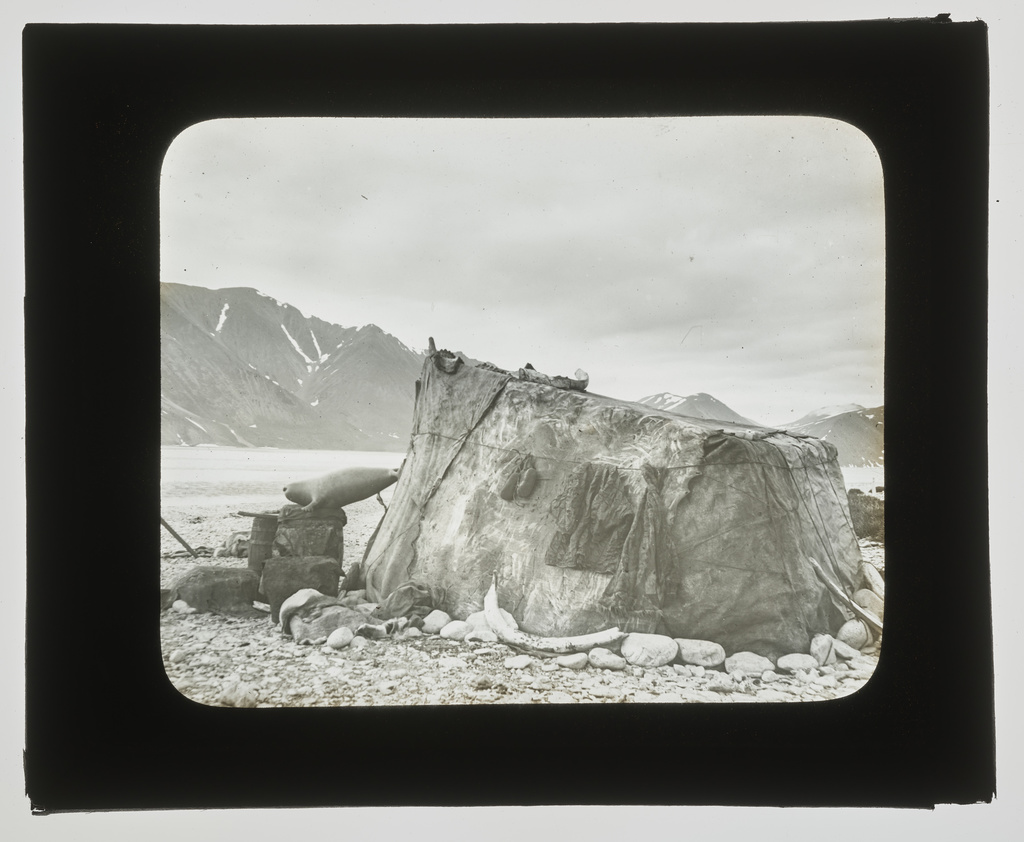
ARC 1176.258
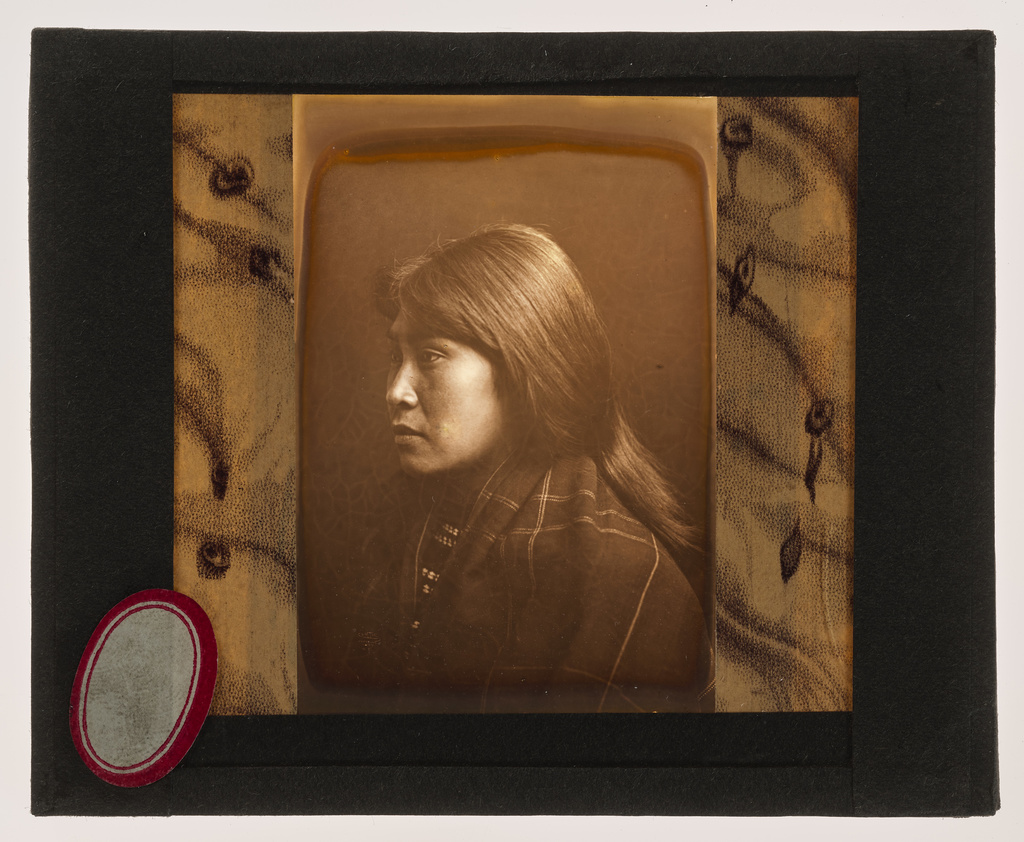
ARC 1176.066
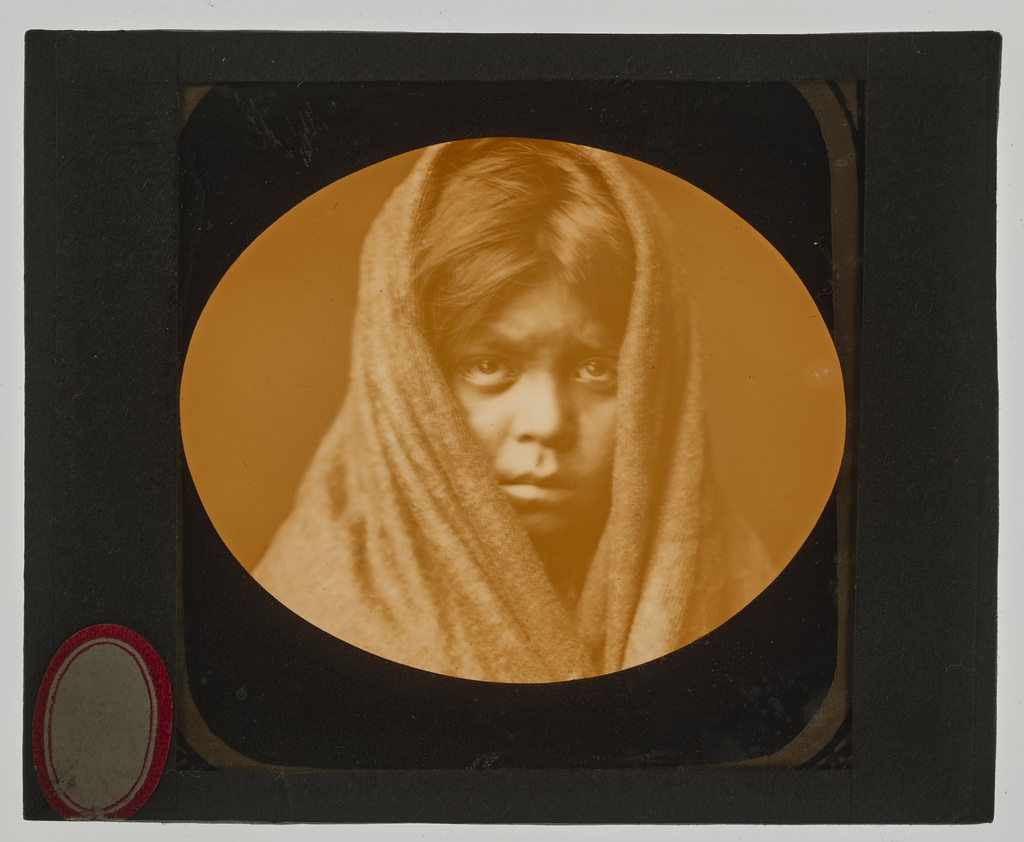
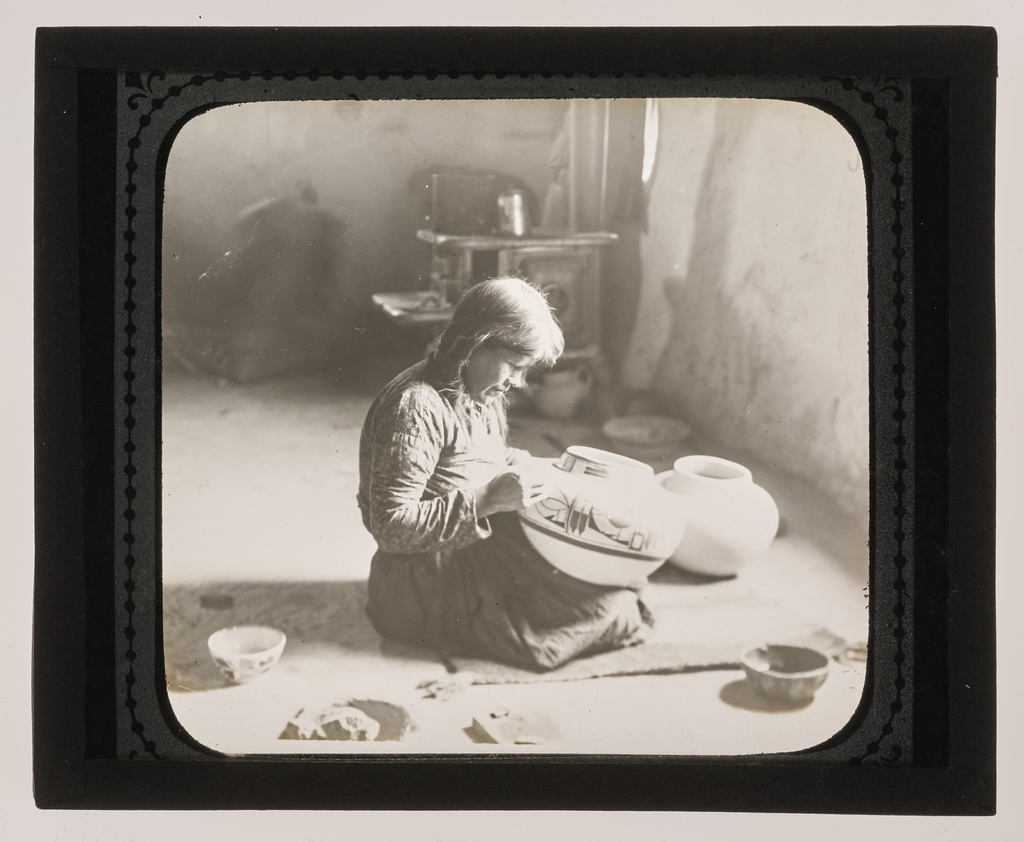
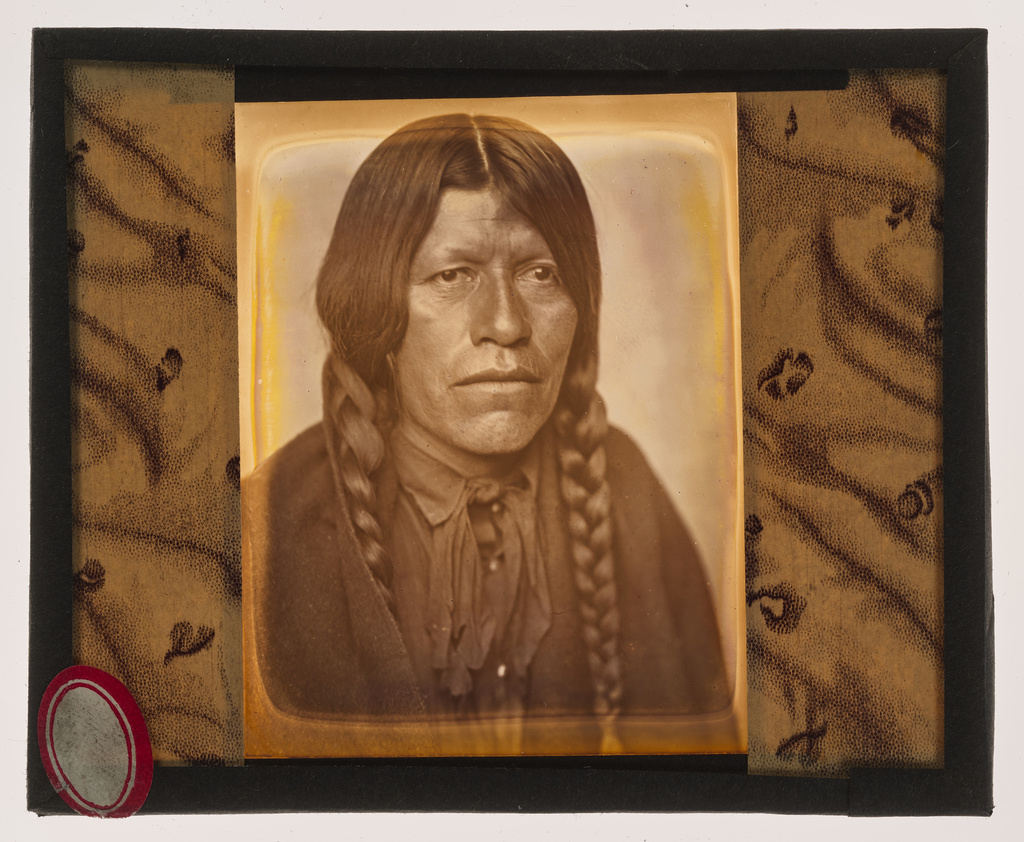
The different tonalities of these two images—the very cool gray tone of ARC 1176.258, and the warm brown tone of ARC 1176.066—were likely produced by chemically toning the photographs with different metallic elements.
To alter the overall hue of a photograph, photographers could employ a process called “chemical toning.” Processing the photograph with an additional metallic element, such as gold, sulfur, or lead, shifts the tonality of the image. For instance, the addition of gold produces a cooler gray image, while sulfur results in a warm sepia color. The color of the developed silver image is changed when the silver reacts to the chemical solutions. Because the toning only affects the silver, the highlights remain clear, while the shadows take on the desired color. Toning can be carried out overall or locally, either by dipping the plate or with brush application. Toning can also affect the stability of the photographic image. Some metallic components improve stability, while others can contribute to accelerated degradation or alteration. The variety of tonalities observed in the lantern slides indicates that Curtis employed a number of different chemical-toning processes, though warmer tones are predominant in the collection.
Coloring with Dye
ARC 1176.368
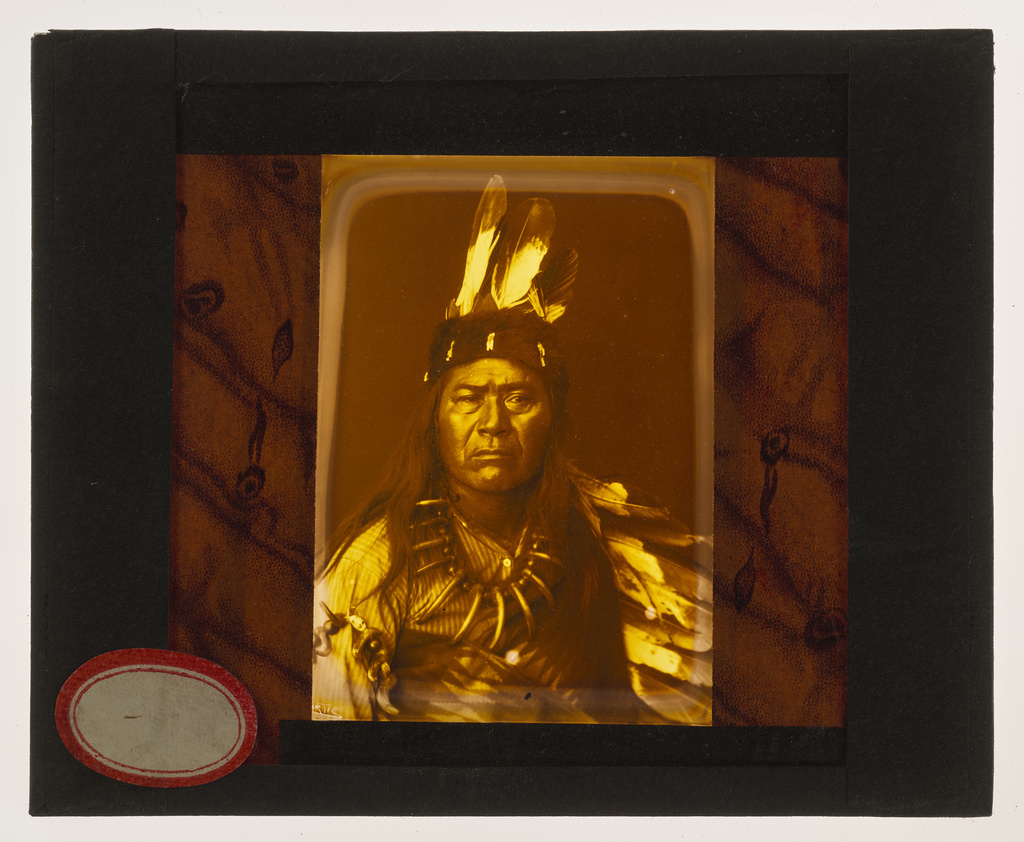
ARC 1176.321
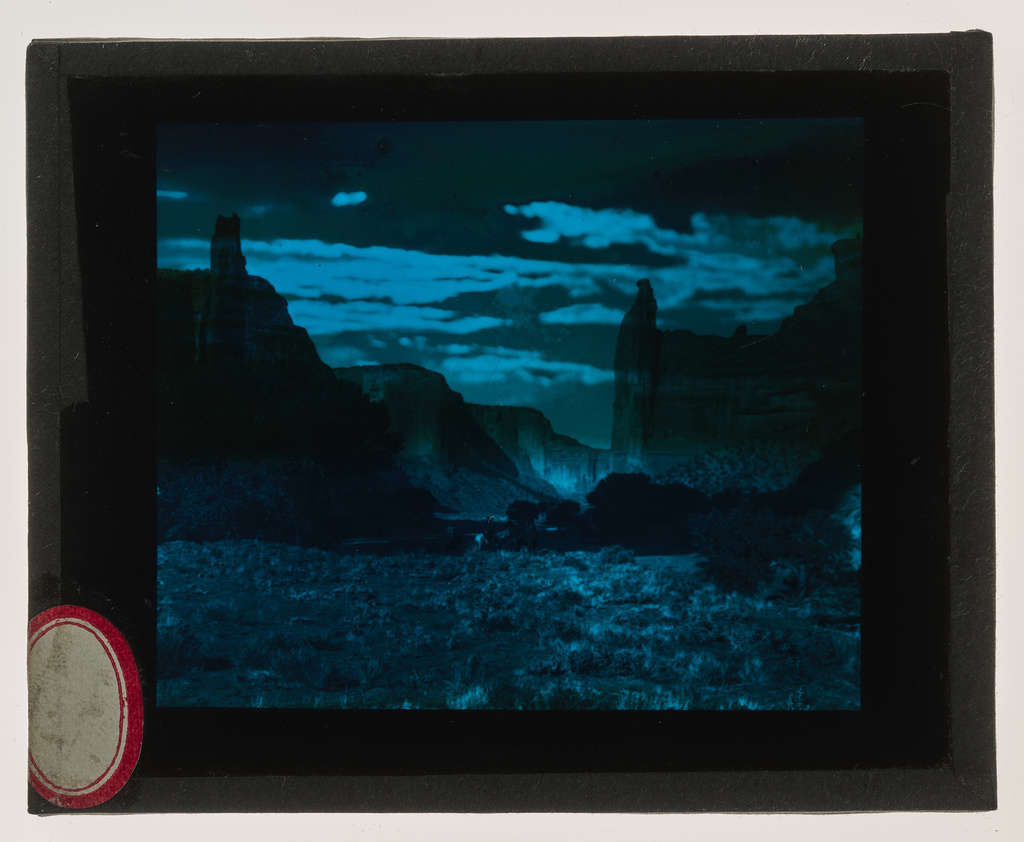
ARC 1176.278
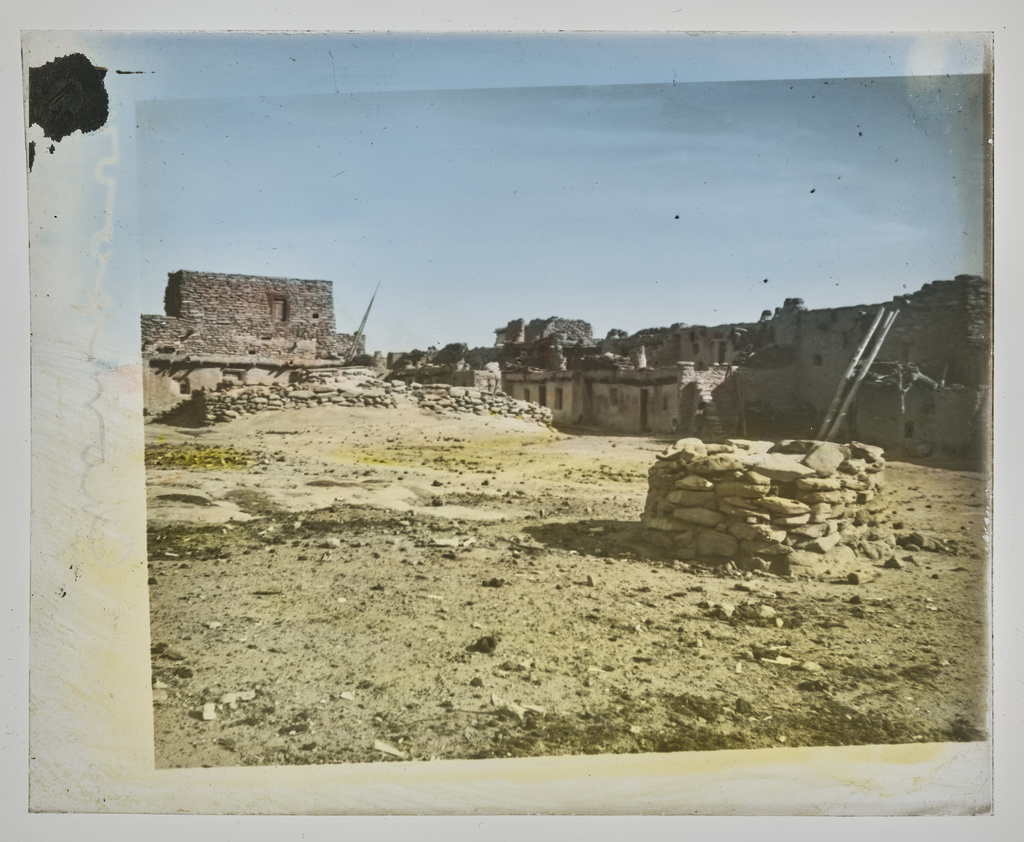
The uniformly blue tone of ARC 1176.368, and yellow tone of ARC 1176.321, appear both in the shadows and highlights, indicating that the slide was tinted overall with a dye.
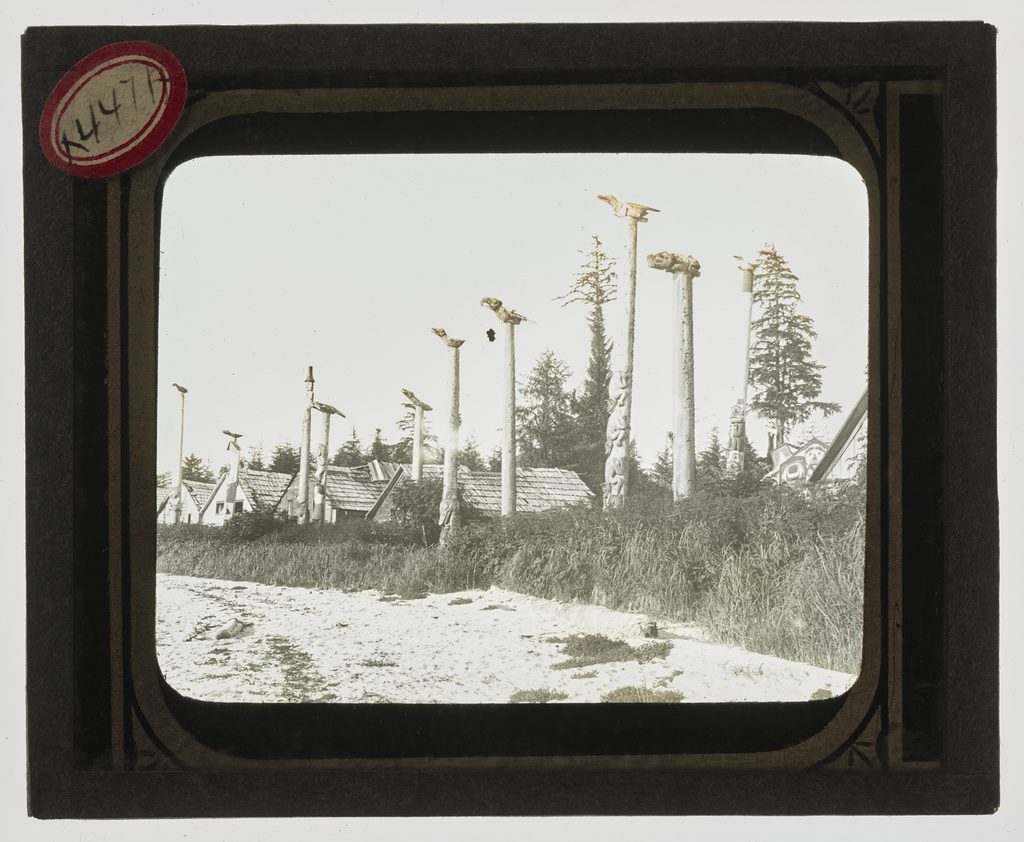
ARC 1176.278 appears to have been treated with two different colors of dye, a blue for the sky and a yellow for the landscape. The lost cover glass and binding tape allow us to see beyond the image area, where yellow and blue brushstrokes are visible, suggesting that the dye was applied to the slide with a brush.
In contrast to chemical toning, a slide could be tinted by immersing it in a colored solution, which would tint the gelatin emulsion overall, so that the highlights appear in the color of the tint and the shadows appear dark.This gives a slightly different visual result than toning, as the color of the entire emulsion is altered by the tint. The colored solution would likely have consisted of an aniline dye, which is a synthetic organic colorant. Throughout the lantern slide collection, blue dyes are most prevalent, but yellows and reds are also apparent. In some slides, dye appears to have been applied to a third piece of glass rather than to the emulsion layer. In these instances, brushstrokes are visible, suggesting that the dye was applied to the glass with a brush.
ARC 1176.378
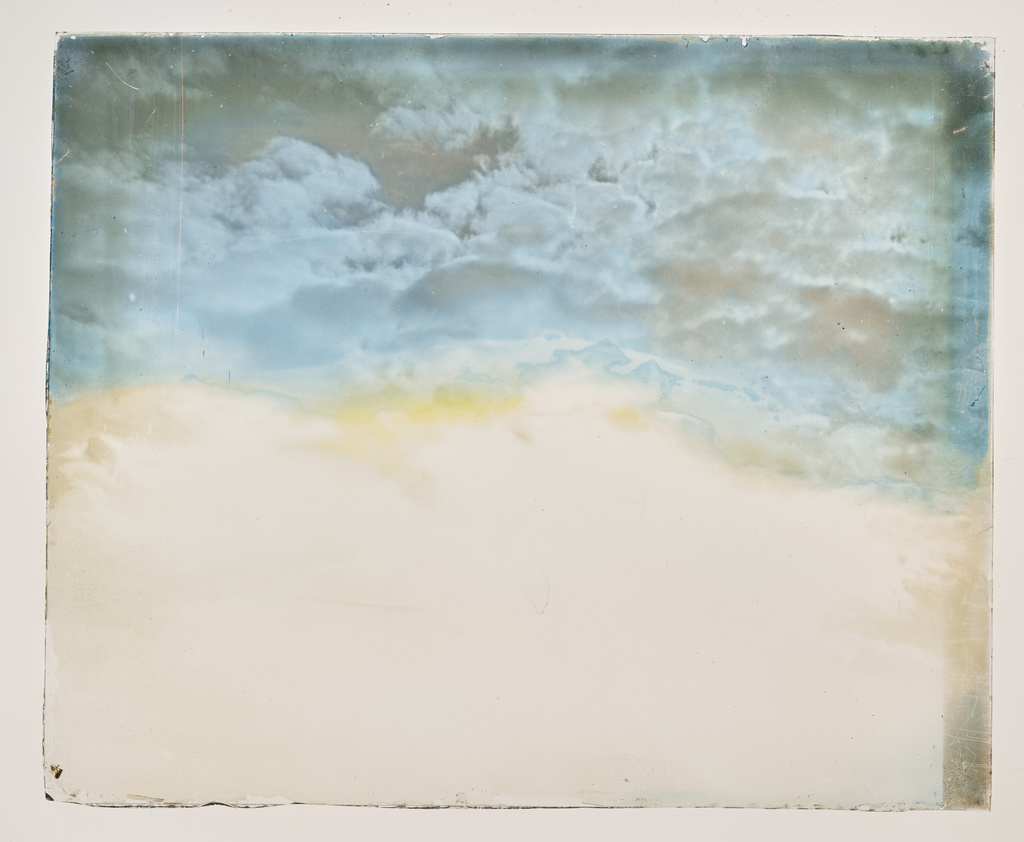
Glass with cloud layer
Occasionally, Curtis would include a third piece of glass that carried a second photographic image, often showing only clouds and sky. Because of the difficulty photographers faced in capturing a bright sky and a dark landscape at the same level of detail, they would sometimes take a separate image of the sky at an appropriate exposure and then combine the two images to achieve detail in both landscape and cloud. Rather than combining the two negatives to unify the image on a single slide, Curtis developed the two negatives on separate pieces of glass. Often, the glass plates with images of clouds and sky are tinted with dye, sometimes blue, in the process described above.
ARC 1176.378 was likely paired with an additional image, a component of a three-part lantern slide, but the binding tape has failed, separating this slide bearing just a sky from its composite image. The clouds have been dyed blue overall.
Hand coloring
ARC 1176.046
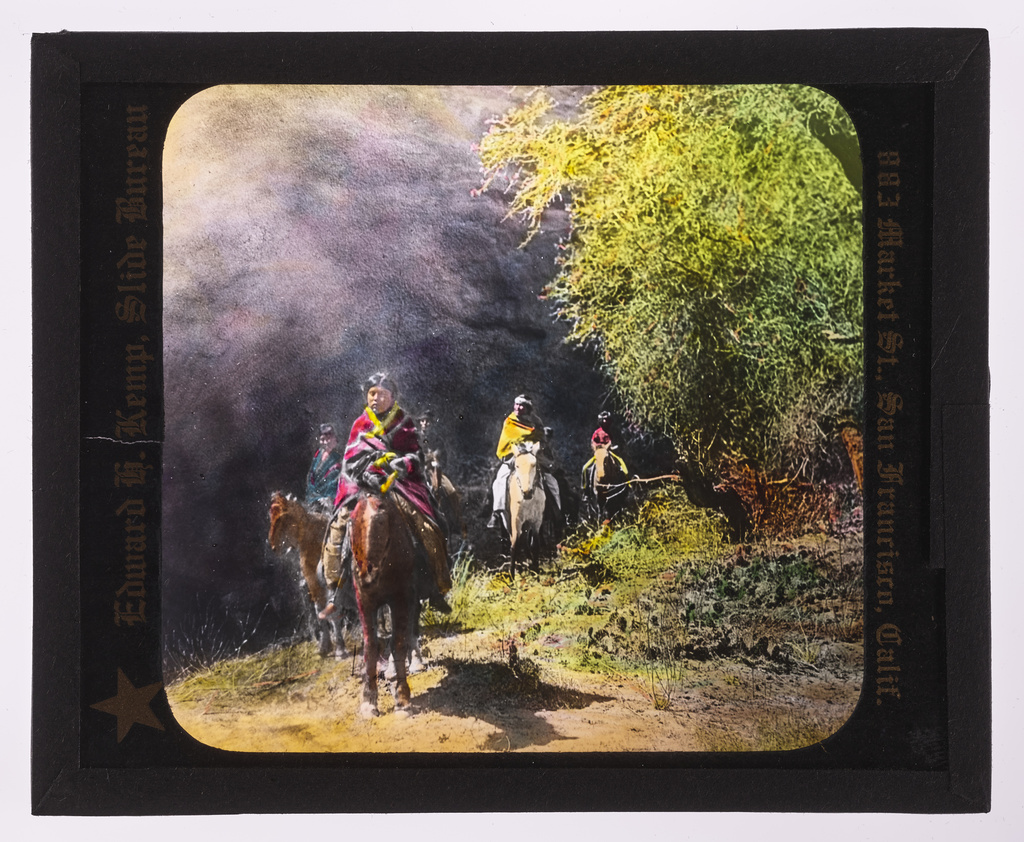
Many of Curtis’s slides were colored after the photograph was developed on the glass slide. In contrast to the overall tinting with dye, described above, multiple colors could be painstakingly applied by hand to bring life to the images. This could be quite a time consuming process, particularly where many different colors were used. Before hand coloring, the slide was soaked in water and ammonia to ensure a clean surface. Different media used to add pigment to the slides included oil, varnish, watercolor, and aniline dyes. It was advisable to work with lighter tints first, building up color with several washes of a dilute tint. The goal was for the colors to be vibrant, but transparent enough to allow light to pass through the slide when projected. The slide would rest in a frame set up at an angle with a blank sheet of paper behind it to allow the colorist to see the colors as they were applied.
Binding tape and window mats/additional material
ARC 1176.238
ARC 1176.261
These examples show oval-shaped and rectangular mats. On both, printed borders are visible, and labels are adhered to the surface of the lantern slide.
In order to protect the sensitive emulsion layer on the glass plate, a second piece of glass was placed overtop of the emulsion and the glass was held together with a paper tape. This tape was typically black and was available to purchase with a moisture-sensitive adhesive already applied.
A paper window mat was usually inserted between the two pieces of glass. Mats served both to create a slight gap between the glass plates, protecting the emulsion from direct contact with the facing glass, and to frame the image, masking out uneven edges of the image area. Mats needed to be made of a thick heavy paper in order to properly block light when the slide was projected. Photographic instruction manuals from the period provided templates for photographers to make these mats themselves, but it appears that commercial versions were also available to purchase. Sometimes this paper mat was adhered directly to the emulsion layer, cropping off areas of the image. Within the Curtis lantern slide collection, we see that he used both prefabricated and homemade window mats. Commercial varieties were made of black or silver paper, with various shapes of openings to frame the image. We see ovals, rectangles with rounded corners, and squares. Some have printed decorative borders, such as ARC 1176.109, adorned with a border of black dots. Sometimes the mat is printed with commercial information related to the manufacturer of the slide, as seen in ARC 1176.046. On other slides, Curtis appears to have selected a wood-grain patterned paper to create makeshift frames as an alternative to prefabricated window mats. This may have provided greater flexibility in determining the visible image area, or perhaps other materials were unavailable, or Curtis merely liked the look of this decorated paper.
ARC 1176.109
ARC 1176.083
ARC 1176.109 has a printed border, and ARC 1176.083 features a wood-grain-patterned paper border.
Paper labels were adhered to many of the slides during their manufacture. Some labels were pre-printed with lines or text, while others were written entirely by hand, possibly by Curtis himself.
Condition concerns
The fragile nature of glass lantern slides means that damage can occur over time. Broken glass, failed binding tapes, or scratched emulsions are concerns that can be mitigated through proper housing and storage, as well as limited handling of the slides.
Over time, deterioration of the silver gelatin emulsion may result in silver mirroring. This occurs when the silver in the emulsion breaks down, causing silver ions to reduce and become silver sulfide deposits on the surface. This creates a shiny, mirrored surface and generally affects the darker areas of the image, where more silver is present.
Aniline dyes are known to be fugitive, which means they are prone to fading or shifting with exposure to light. The extent to which these dyes may have already faded through Curtis’s use in projecting the lantern slides in his lectures is unknown. Because of light-sensitivity and physical fragility, these valuable slides will no longer be projected or used in their historical function, and physical access is limited. Digital images now allow the lantern slides to be widely shared.
Works Cited:
American Institute for Conservation.“Silver mirroring.” AIC Wiki. Last modified April 26, 2021.
Graphics Atlas. “Gelatin Dry Plate.” Accessed March 8, 2022.
National Film and Sound Archive of Australia. “Dry Plate Photographic Process.” Accessed March 8, 2022.
University of Illinois at Urbana-Champaign. “Slides & Transparencies.” Preservation Self-Assessment Program. Accessed March 8, 2022.
University of Michigan Library. “Lantern Slides: An Historical Technique.” An Artful Life: The Colored Lantern Slides of Anna Caulfield McKnight. Accessed March 8, 2022.